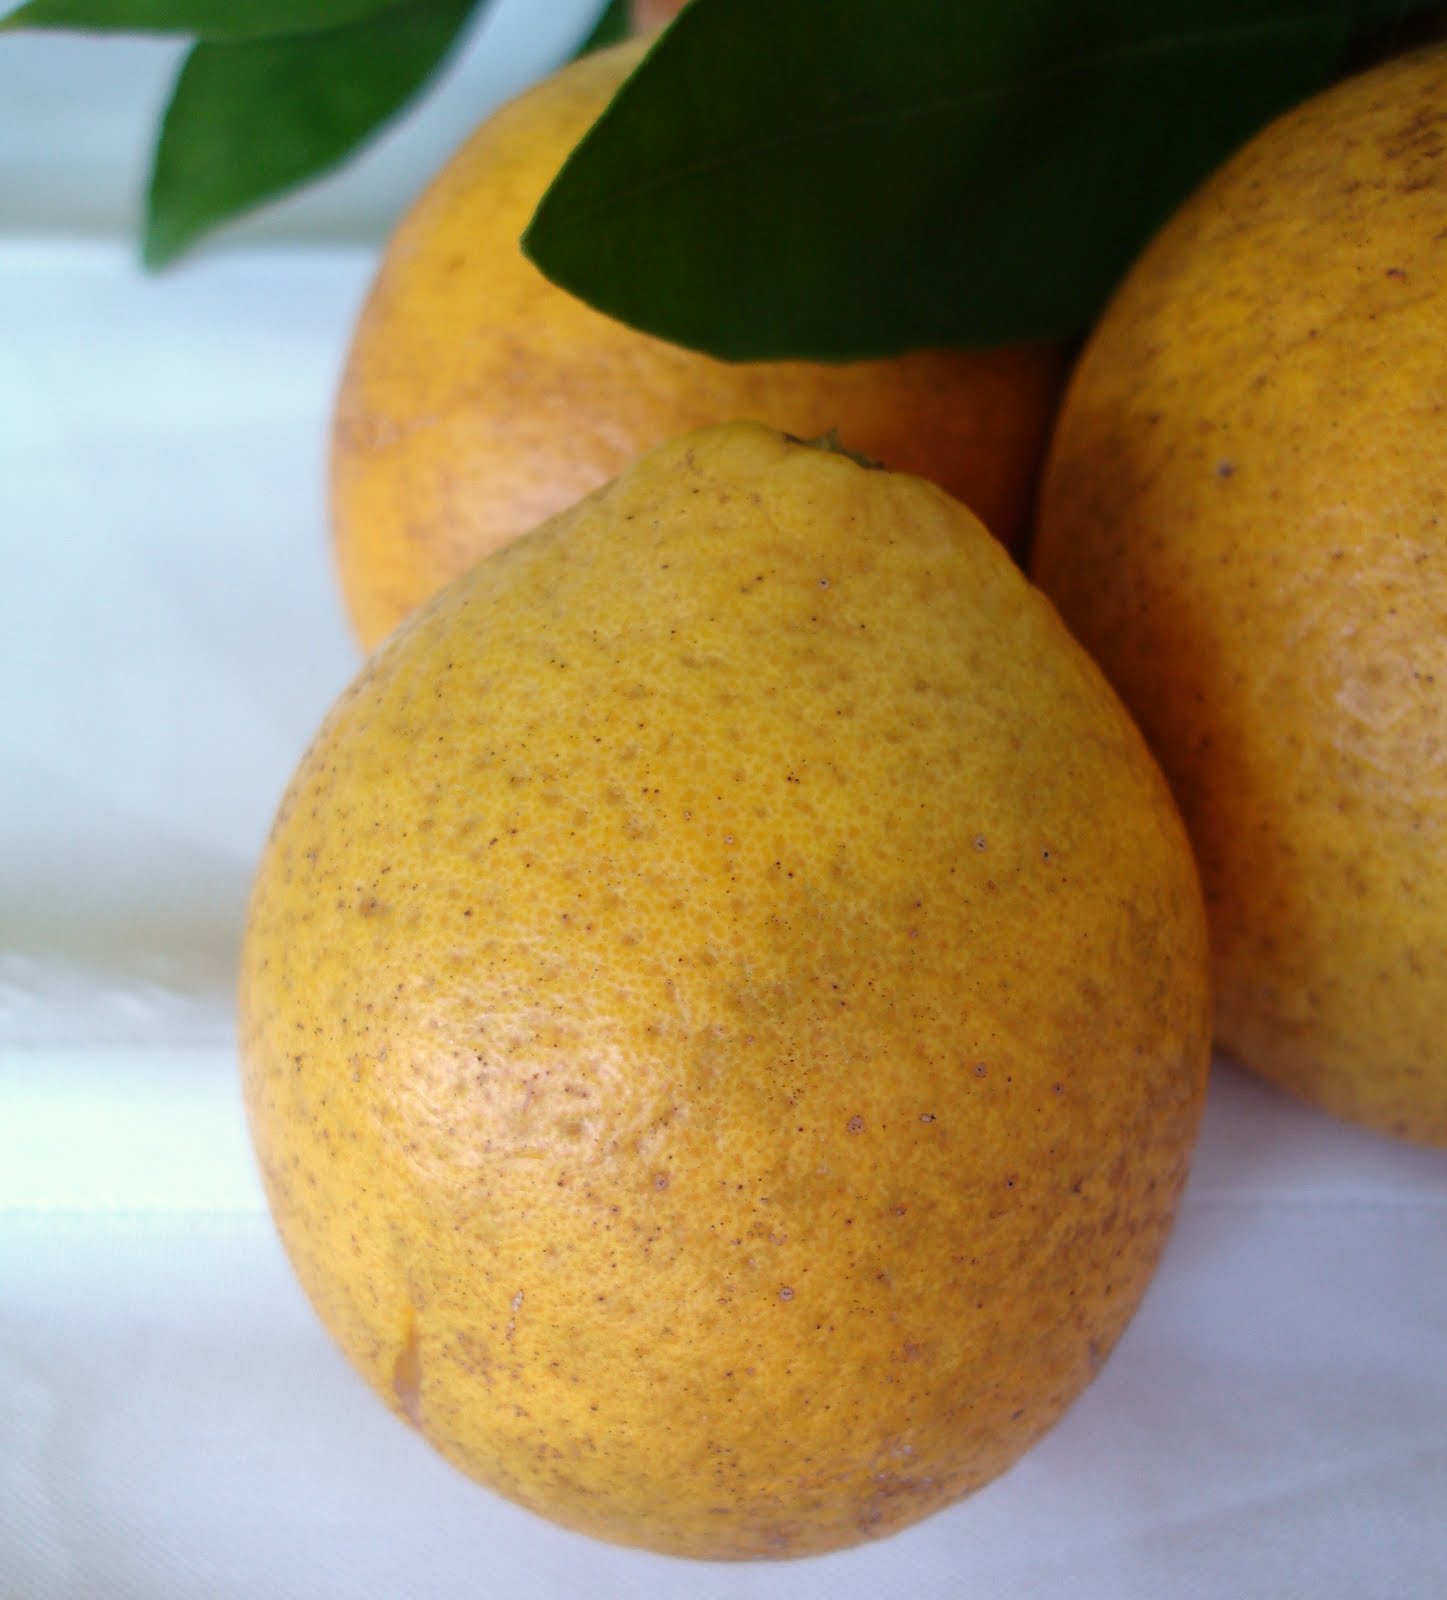
My neighbor has a monster grove in their backyard and they sell their oranges, tangerines, honeybells (best fruit on earth), and grapefruit. 10 oranges or 5 grapefruit for $1. A total steal. I bought 10 Amber Sweet oranges and 5 Ruby Red grapefruit today. (When I took these pictures the fruit had only been off the tree for half an hour!)
Amber Sweet oranges are a cross between a Clementine and a Tangelo. They are super sweet and perfect for making fresh juice. They are also smaller than a typical orange.
The retired couple who own the grove are an absolute hoot. The wife always wears a housecoat and the husband has long white hair and matching beard. Sweet as pie. The wife and I had a dickens of a time getting the oranges from the top of the tree because neither of us wanted to climb up the ladder. We ended up just shaking the tree until we got what we needed.
Amber Sweets are shaped a bit like small honeybells. (Honeybells aren't available until January.)
Did I mention how juicy these little buggers are?
Ruby Red grapefruit are sweeter than typical grapefruit and their color is not to be believed.
They have a slight blush to the skin.
Can you believe this color?!!
I'm going to have to walk down and get more.
Today it is 72 and sunny, so after spending some time in the grove I came home and thought I would take some more Florida fall pictures. :)
A bloom from our Hibiscus bush next to the front door,
our banana tree (no bananas yet),
our own Hamlin orange tree (oranges won't be ready until January),
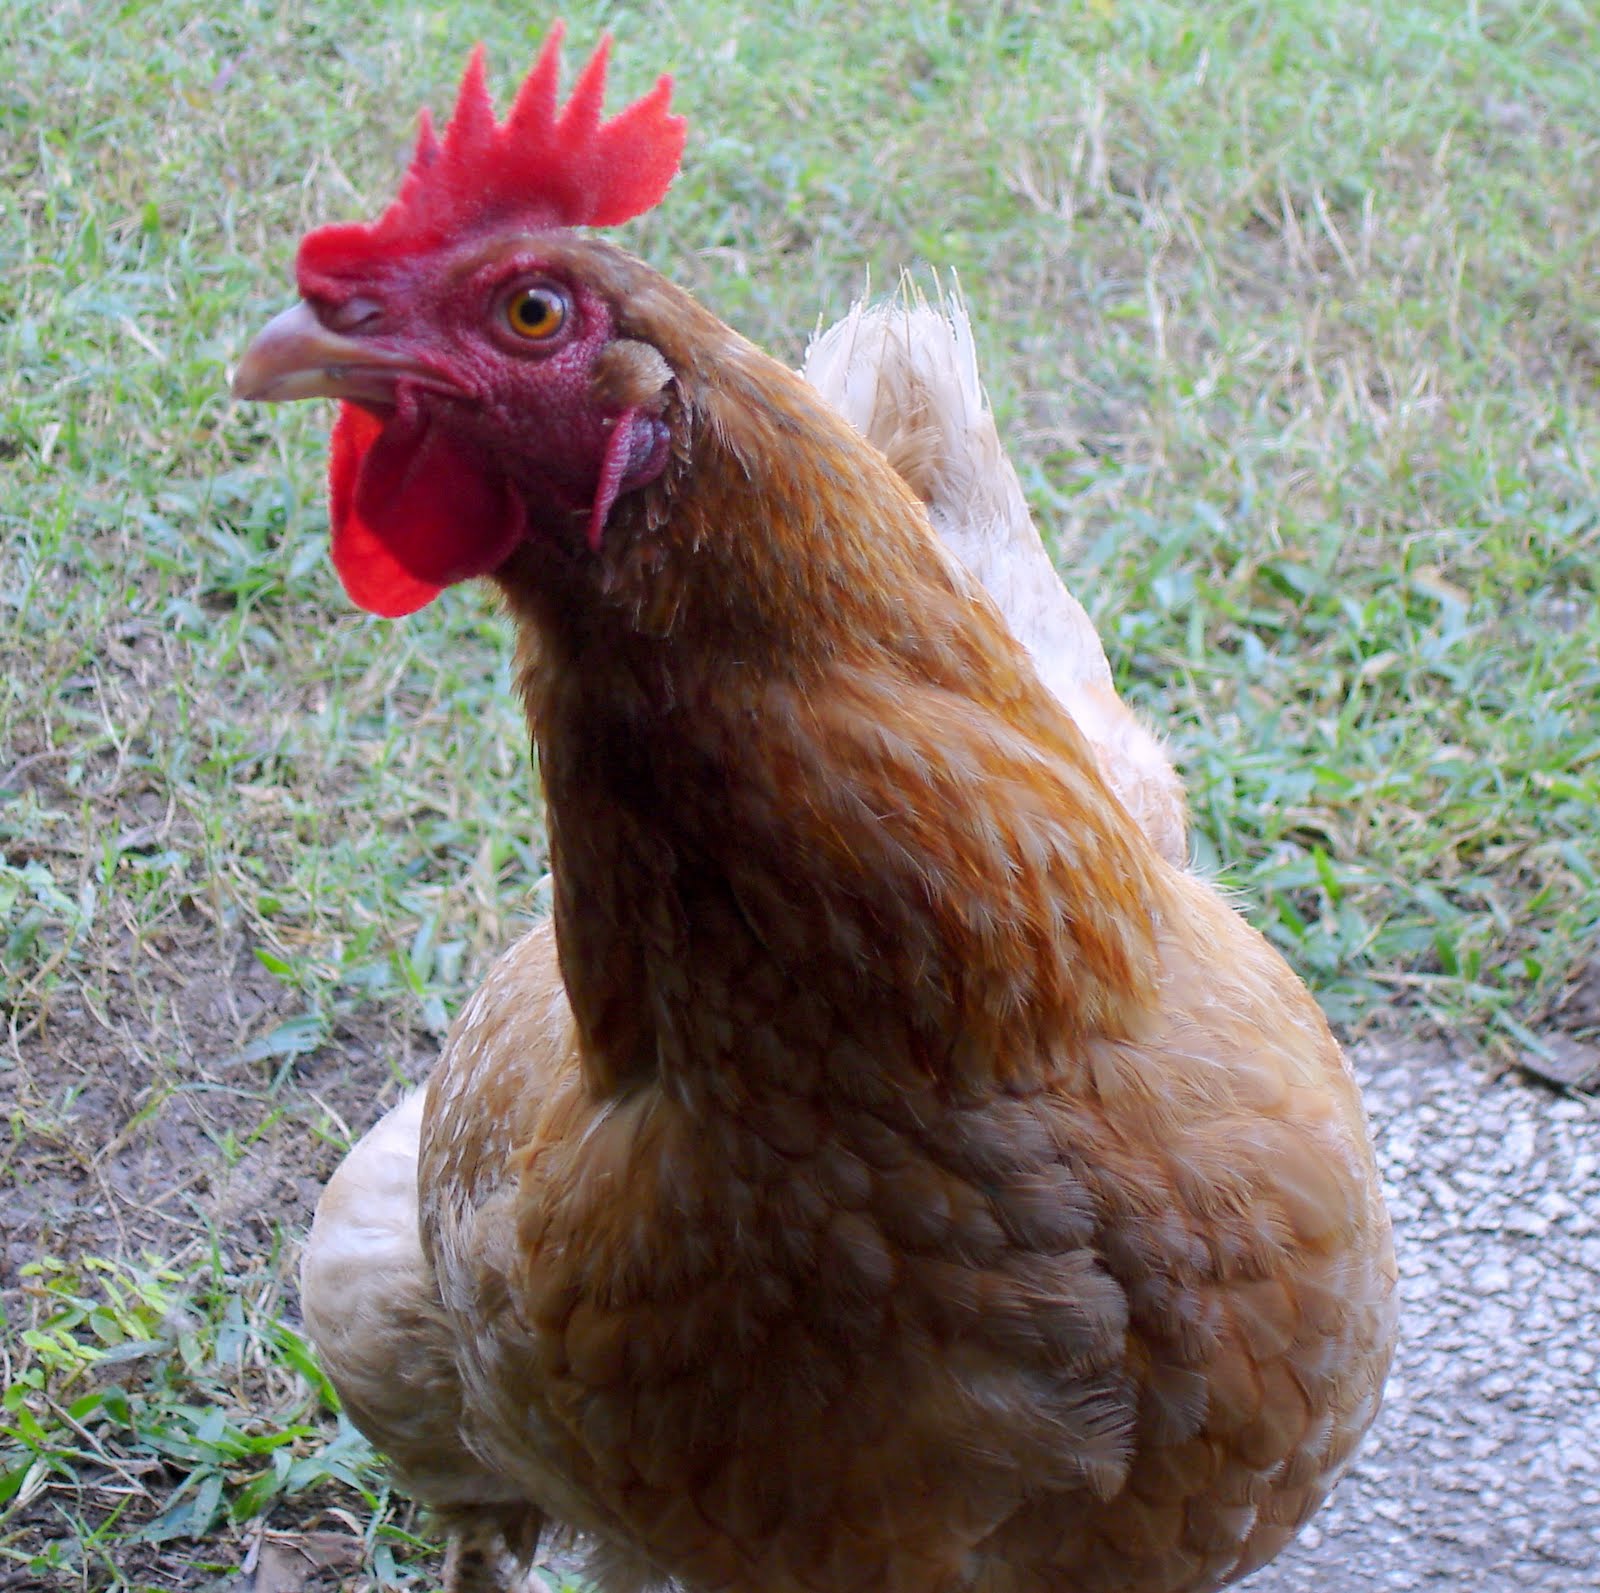
and one very curious chicken named Smores.
Best time of year to live here in Florida. You can laugh at me come June when we are roasting. :)
This recipe for banana cake isn't low on sugar, but it is whole wheat and a great treat for the kids. I like to make it an hour before the monkeys get home from school so that it is still warm. On a cold day (which to us is anything less than 70 degrees) a nice big slice of warm banana cake and a cup of hot cocoa puts huge smiles on my girls' faces. It is also a great way to use up browning bananas instead of making banana bread or muffins.
You will need:
1 1/2 cups King Arthur white whole wheat flour 1 cup brown sugar 1 1/2 tsp baking soda 1/2 tsp baking powder 1/4 tsp salt 1 cup mashed bananas (about 3) 1 egg 1/2 cup butter, melted (Smart Balance stick) 1/4 cup milk (skim is fine) 1/2 cup mini chocolate chips (optional)
Preheat oven to 350 degrees and grease a 9x13-inch baking pan.
I use my KitchenAid with the whisk attachment to mash the three bananas.
In a separate large bowl, add the flour, sugar, baking soda, baking powder, and salt. Mix together.
Back in the KitchenAid...switch to the paddle attachment and add the egg, melted butter (make sure it has cooled so that you don't cook the egg), and the milk. (I used half and half, but any type of milk is just fine. I usually use skim, but had a bunch of half and half that I needed to use up before the expiration date.) Then add half the dry ingredients.
Mix a little, but not completely and then add the rest of the dry. As always, be careful not to overmix.
Gently stir in the chocolate chips.
Spread the batter into your greased pan and bake at 350 for 25-30 minutes.
This cake needs no icing, no butter, no addition of anything. It's super yummy right out of the oven, but also delicious the next day. Just cover it with plastic wrap to keep out the air overnight. We never have leftovers past the second day, but I bet it would keep in the fridge for 3-4 days, wrapped tightly. I put a nice big slice in the kids' lunch the next day. With the whole wheat, I also feel comfortable giving the girls a small slice in the morning with their breakfast (as long as it's paired with an egg for protein).
So moist and tender. If you are a raisin person you can absolutely substitute raisins or even walnuts for the chocolate chips. Tink's braces make chocolate chips the safer choice for her. Not that anyone complains about the addition of chocolate. :)
For my birthday the year I got married my mom gave me the Better Homes and Gardens cookbook. Over the past 16 years I think I have made just about everything in it, but there are some recipes that I come back to over and over again. Porcupine Balls is one of those recipes. It was also one of the first dishes I could make right each time. I've been baking since I was 10, but cooking was another story. When I was first married (poor hubby) I couldn't cook at all. Bubba still brings up the time I tried to make my mom's Italian breaded chicken, but couldn't remember what liquid she used (white wine) so I used water. We literally could not cut through the poor chicken when I was done with it. But I persisted, and eventually became a good cook (if I do say so myself). Now Bubba is a lucky hubby. :)
1 egg 1 can tomato soup 1/4 cup uncooked white rice (or 1/2 cup cooked brown rice) 1/2 tsp onion powder 1/4 tsp pepper 1 pound ground beef 1 tsp Worcestershire sauce 1/2 tsp dried oregano (optional--I don't use it) 1/2 cup water
Combine the egg, 1/4 cup of the soup (I just eyeball it), rice, onion powder, and pepper. Add the ground beef and mix well.
Shape mixture into 12 meatballs and place in a large greased skillet. I used my electric skillet and gave it a quick shot of cooking spray.
In a small bowl, mix together the rest of the soup, Worcestershire sauce, oregano (if you use it), and 1/2 cup water. Whisk.
Pour the soup mixture over the top of your meatballs.
Bring to a boil then reduce the heat to a simmer and cover. Cook for 20 minutes. Give the meatballs a stir every once in a while. After ten minutes I turn the meatballs over.
Porcupine Balls are super filling and are great paired with green beans and some type of potato. The sauce is yummy over mashed potatoes. Serve them immediately and spoon a little sauce over each one. Whenever we have these we sing the Porcupine Balls song that Tink used to sing when she was 3. She would go around the yard picking up the porcupine balls that fall from trees...
she would cock her head to one side and say, "porcupine balls," and then cock her head to the other side and say it again. It was sooooooo cute. Crazy, adorable cute. I miss the girls as toddlers. :)
Anyway...this recipe is quick, easy, tasty, filling, and cheap.
My 100th post!! I thought the occasion called for something special, something I've never baked before. Millionaire's Shortbread is the perfect treat to celebrate my 100th post. Basically, it's homemade Twix bars. Big on the YUM factor. I used Joy of Baking's recipe. You really can't go wrong with anything on her site!
You will need:
1 1/2 sticks butter (the real thing, no Smart Balance today) 1/4 cup sugar 1/2 tsp vanilla 1 1/2 cups King Arthur all-purpose flour (no white whole wheat today either) 1/8 tsp salt ****************** 14 oz Dulce de Leche ****************** 6 oz. semi-sweet chocolate 1 tsp butter (*note on this later)
Preheat oven to 350 and grease a 9-inch square baking dish.
I thought about using some of my Belgium chocolate, but I only have milk and dark and, well, can't bring myself to open the packages yet. I know that once I do it will be gone! :)
Cream together the sugar and butter until light and fluffy.
Then beat in the vanilla and salt. Gradually add the flour in 1/2 cup increments and mix until just combined. After the last 1/2 cup of flour I turned off the mixer and used a spatula.
Press the dough into your greased pan. Joy of Baking does not call for it, but shortbread is usually pricked with a fork before baking. Up to you if you want to do it or not. I did. Bake at 350 for 20 minutes.
I used the rest of my Dulce de Leche leftover from my brownies. I don't think I had quite 14oz. More like one cup. But it worked! Melt it in the microwave for a minute or so, or just leave it on top of the stove while the shortbread bakes like I did. After the shortbread cools, pour the Dulce on top and place in the fridge to set.
Melt the chocolate and 1tsp butter in a double boiler. Or the microwave--but be careful that you don't scorch the chocolate. Melting chocolate in the microwave worries me, so I melt it on the stove. No need for a real double boiler, though. Just a metal bowl over a pot of simmering water will do. (*note: my chocolate seized the first time and I had to start over. The second time I did not add the butter. I think it was because my butter was cold. Make sure your butter and chocolate are room temperature before melting.)
When the Dulce is set, pour the chocolate over the top. Let it set for a few minutes and then cut into squares. You want to cut it before the chocolate hardens.
Tink said, "tastes like a Twix," which is high praise from her since Twix bars are her favorite candy bar. The shortbread is tender, the chocolate adds just the right amount of sweetness, and the Dulce...well, the Dulce is perfection. I am SO glad I didn't make these while I was home alone. I seriously would have eaten the entire dish by myself. And then not felt guilty at all. :)
Big thank you to Joy of Baking for posting the recipe! Enjoy!!
Brown rice can be a bit intimidating. It takes longer to cook and can be mushy if overcooked. It's a balancing act and most people don't take the time. But when cooked properly, the rewards far outweigh the trouble. There is really no nutrition at all in white rice. It's like white bread; everything good for you has been cooked and processed out. I switched to brown rice years and years ago and while I enjoy the occasional side of sticky white rice with some Chinese take-out, brown rice is the only thing I serve at home. I even make my homemade fried rice with brown. The flavor is richer and has a subtle nuttiness.
Normally I throw my rice and water into a rice cooker and set it for 45 minutes, but not everyone has a rice cooker. So I thought I would post instructions for making it in the microwave. It's really simple and requires minimal effort. Plus it's super tasty, making it the perfect side dish to any meal.
You will need:
1 cup whole grain brown rice 2 chicken bullion cubes 3 cups water 1T oil 2.5 quart microwave safe dish with lid
Add the water and oil to your dish then crumble the bullion cubes into the water.
Sprinkle the rice on top and give it a little stir.
Cook in the microwave, uncovered, for 10 minutes on high power. Then cover the dish (but don't stir!!) and cook for 30 minutes on 50% power. Don't open the microwave yet. Let the dish sit in it for 10 minutes. Then take it out and fluff with a fork.
That's it! See how simple and not intimidating that was?
I created this food blog when my two girls were young, I was a stay-at-home mom, and I had not yet attended culinary school. Now I'm a classically trained chef with two college-age daughters. This blog will always be so special to me and I hope you enjoy my old recipes.